
Building spiders made easy: GUI for your Scrapy shell
As a python developer at Zyte (formerly Scrapinghub), I spend a lot of time in the Scrapy shell. This is a command-line interface that comes with Scrapy and allows you to run simple, spider compatible code.
It gets the job done, sure, but there’s a point where a command-line interface can become kinda fiddly and I found I was passing that point pretty regularly.
I have some background in tool design and task automation so I naturally began to wonder how I could improve my experience and help focus more time on building great spiders.
Over my Christmas break, I dedicate some free time to improve this experience, resulting in my first python package Scrapy-GUI.
Scrapy-GUI offers two different UI tools to help build Scrapy spiders, but today I am going to focus on the part that integrates directly into a Scrapy shell - its load_selector method.
Installation and activation
First things first, the installation part is simple, as it is on the Python Package Index. All you need to do is install it via pip. Please note that it requires python 3.6+.
Once installed, to use it in your shell you just have to import the load selector function from the module. To do this use the following code in your shell.
Plain text
Copy to clipboard
Open code in new window
EnlighterJS 3 Syntax Highlighter
from scrapy_gui import load_selector
from scrapy_gui import load_selector
1from scrapy\_gui import load\_selectorThen if, for example, you want to load your response into the UI you write:
Plain text
Copy to clipboard
Open code in new window
EnlighterJS 3 Syntax Highlighter
load_selector(response)
load_selector(response)
1load\_selector(response)Once you load the selector the Shell-UI window will open.
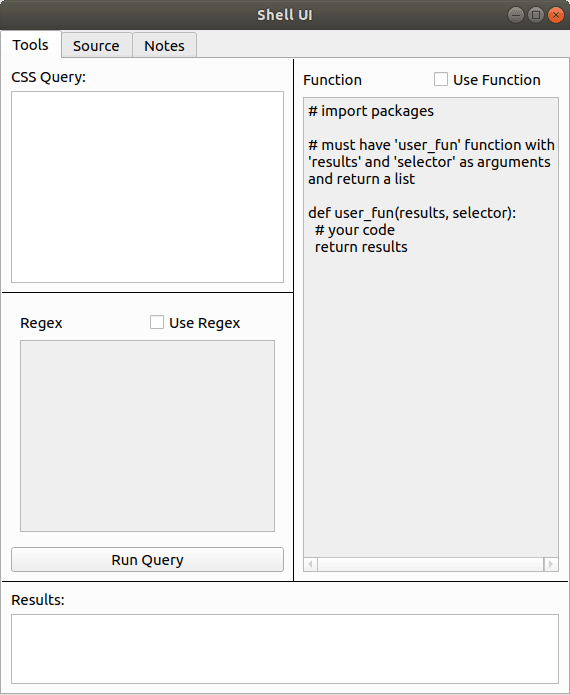
Using the tools tab
The tools tab allows you to test three elements of a parser - query, parser, and processor. This little tab is where the biggest improvement to my scraping experience comes in. I can easily see all three steps of my extraction in one place, which lets me quickly observe results and make changes to best select the kind of information I am looking for.
The Query input is compulsory and can be found in the top left. While Scrapy can handle both XPath and CSS queries, the GUI currently only lets you test CSS queries. Anything you type here returns results equivalent to running the code.
Plain text
Copy to clipboard
Open code in new window
EnlighterJS 3 Syntax Highlighter
selector.css(your_query).getall()
selector.css(your_query).getall()
1selector.css(your\_query).getall()The Regex input allows you to test regular expression filtering for your query. When you have the box checked it will update your query so it runs the code.
Plain text
Copy to clipboard
Open code in new window
EnlighterJS 3 Syntax Highlighter
selector.css(your_query).re(your_regex)
selector.css(your_query).re(your_regex)
1selector.css(your\_query).re(your\_regex)Finally, the Function input lets you write python code to process the output of your query. This code can be quite complex, for example in the image below I imported the JSON package and used it to parse the content and extract specific elements.
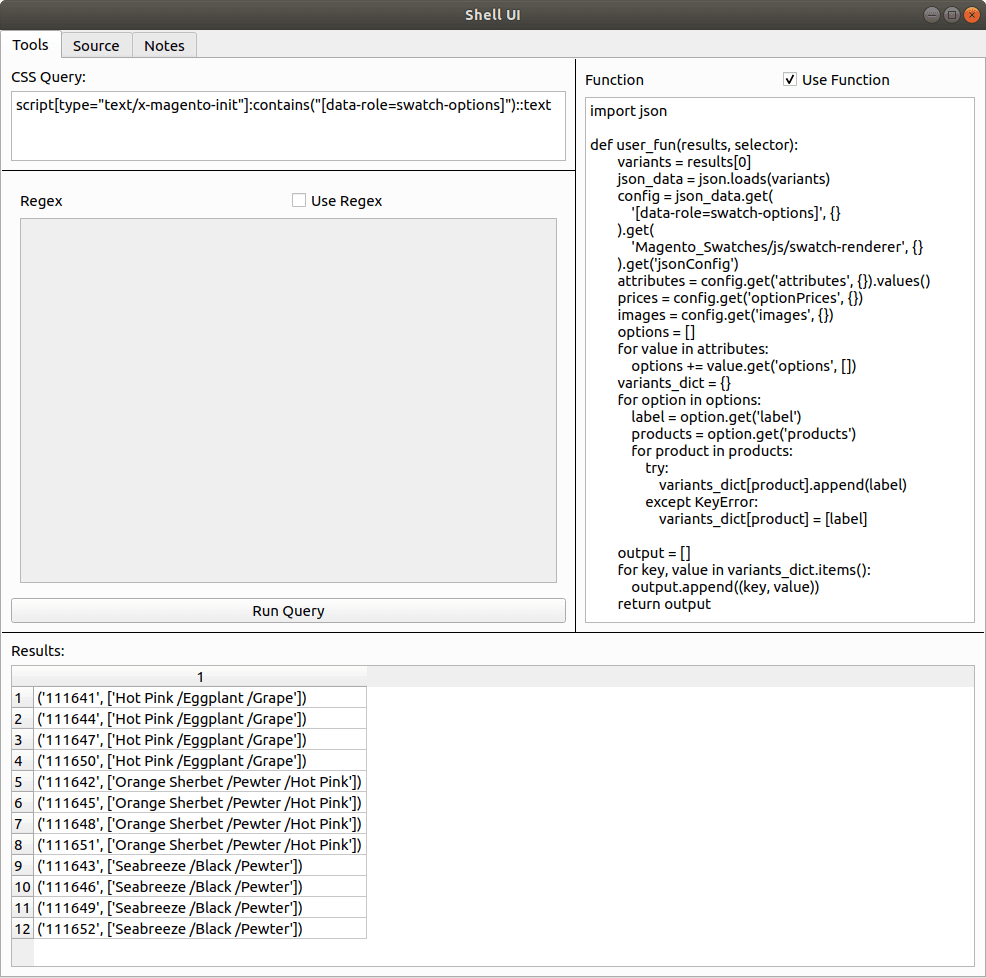
For the functions tab there are two requirements:
- It must define a function named user_fun that takes results and selector as its arguments.
- The user_fun function must return a list.
The code passes your function through python’s exec function to define a function named user_fun, then passes the results from the query and your initial selector through it.
Thoughts as a user
I’ve come to rely on Scrapy-GUI for my day to day work here at Zyte (formerly Scrapinghub). I’m a bit biased here for sure, but honestly, I feel the UX from using a simple UI over a CLI is a great improvement.
As an end-user, I would say that the function section is probably one of my favorite parts of this tab. Having to write multiple lines of indented code on a CLI shell can get very painful very quickly.
For example, I would commonly forget to write a collector variable before my for loops and only noticed a few lines in, forcing me to go all the way back to the start! Copy/pasting gets even worse - I would get indentation errors quite often, especially when I am copy/pasting a function definition that had blank lines in it.
A very close second is the results tab - being able to easily see the results of my queries without having to flood my window has been a godsend!
Not just because I can easily see all the results but because I don’t need to scroll up to double-check my query or processor if there’s something I need to change.

Conclusion
Thus ends a brief introduction to Scrapy-GUI. I hope this is enough to get you started using it when building your own Scrapy spiders. If you come across any bugs or have any feedback feel free to open an issue on its Github, or even create a fork and submit a Pull Request!
If you’re looking to scrape the web at scale, check out our Developer Tools that make it easy to run your spiders in the cloud and handle JS rendering or proxy rotation.
Or if you are tired of writing your own scrapers and debugging spiders, you might want to check out our Data Extraction Solutions and let our experts handle your data extraction needs.


_HFpro5d6k3.png&w=256&q=75)
_E4PyVpfAxa.png&w=256&q=75)


-(1).png&w=1920&q=75)
-(1)_VZGHqxCgXV.png&w=1920&q=75)
