Scrape data visually with Portia and Scrapy Cloud
Note: Portia is no longer available for new users. It has been disabled for all the new organizations from August 20, 2018, onward.
It’s been several months since we first integrated Portia into our Scrapy Cloud platform, and last week we officially began to phase out Autoscraping in favor of Portia.
In case you aren’t familiar with Portia, it’s an open-source tool we developed for visually scraping websites. Portia allows you to make templates of pages you want to scrape and uses those templates to create a spider to scrape similar pages.
Autoscraping is our predecessor to Portia, and for the time being it’s still available to users who already have Autoscraping-based projects. Any new projects as well as existing projects without Autoscraping spiders will only be able to use Portia.
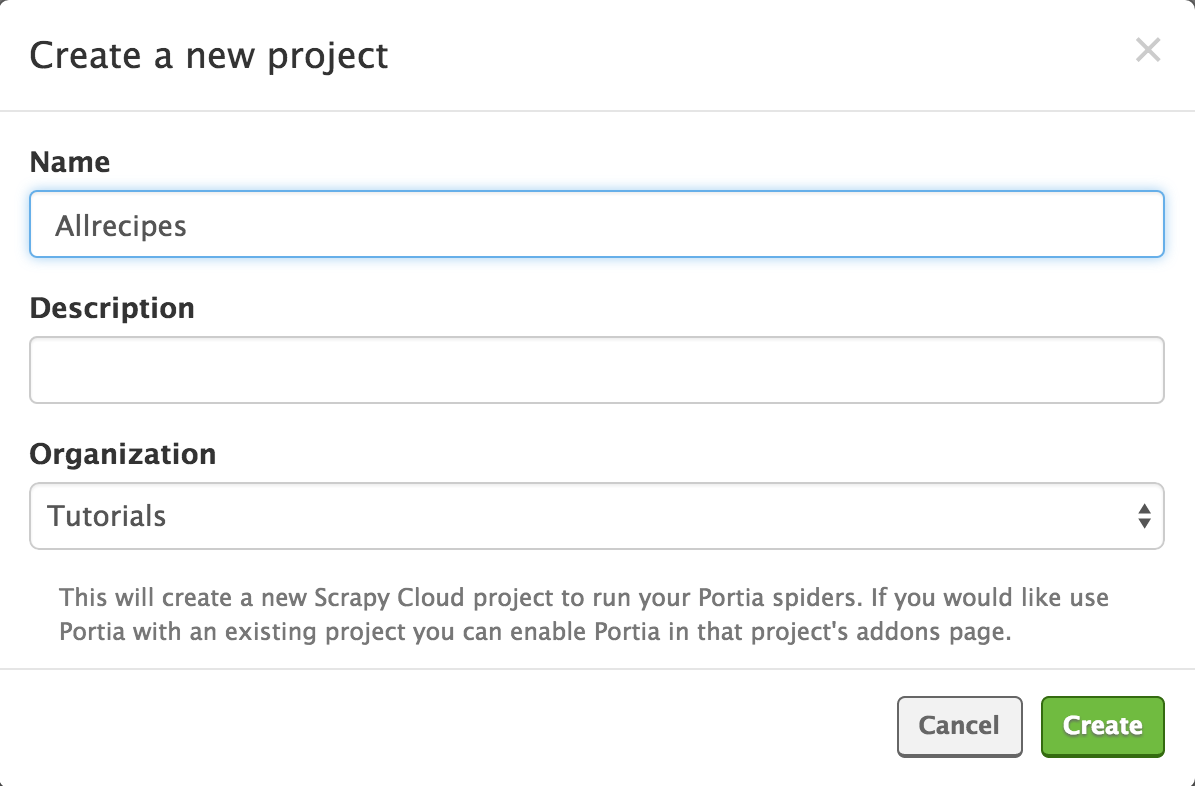
In this post, we’re going to introduce Portia by creating a spider for Allrecipes. Let's start by creating a new Portia project:
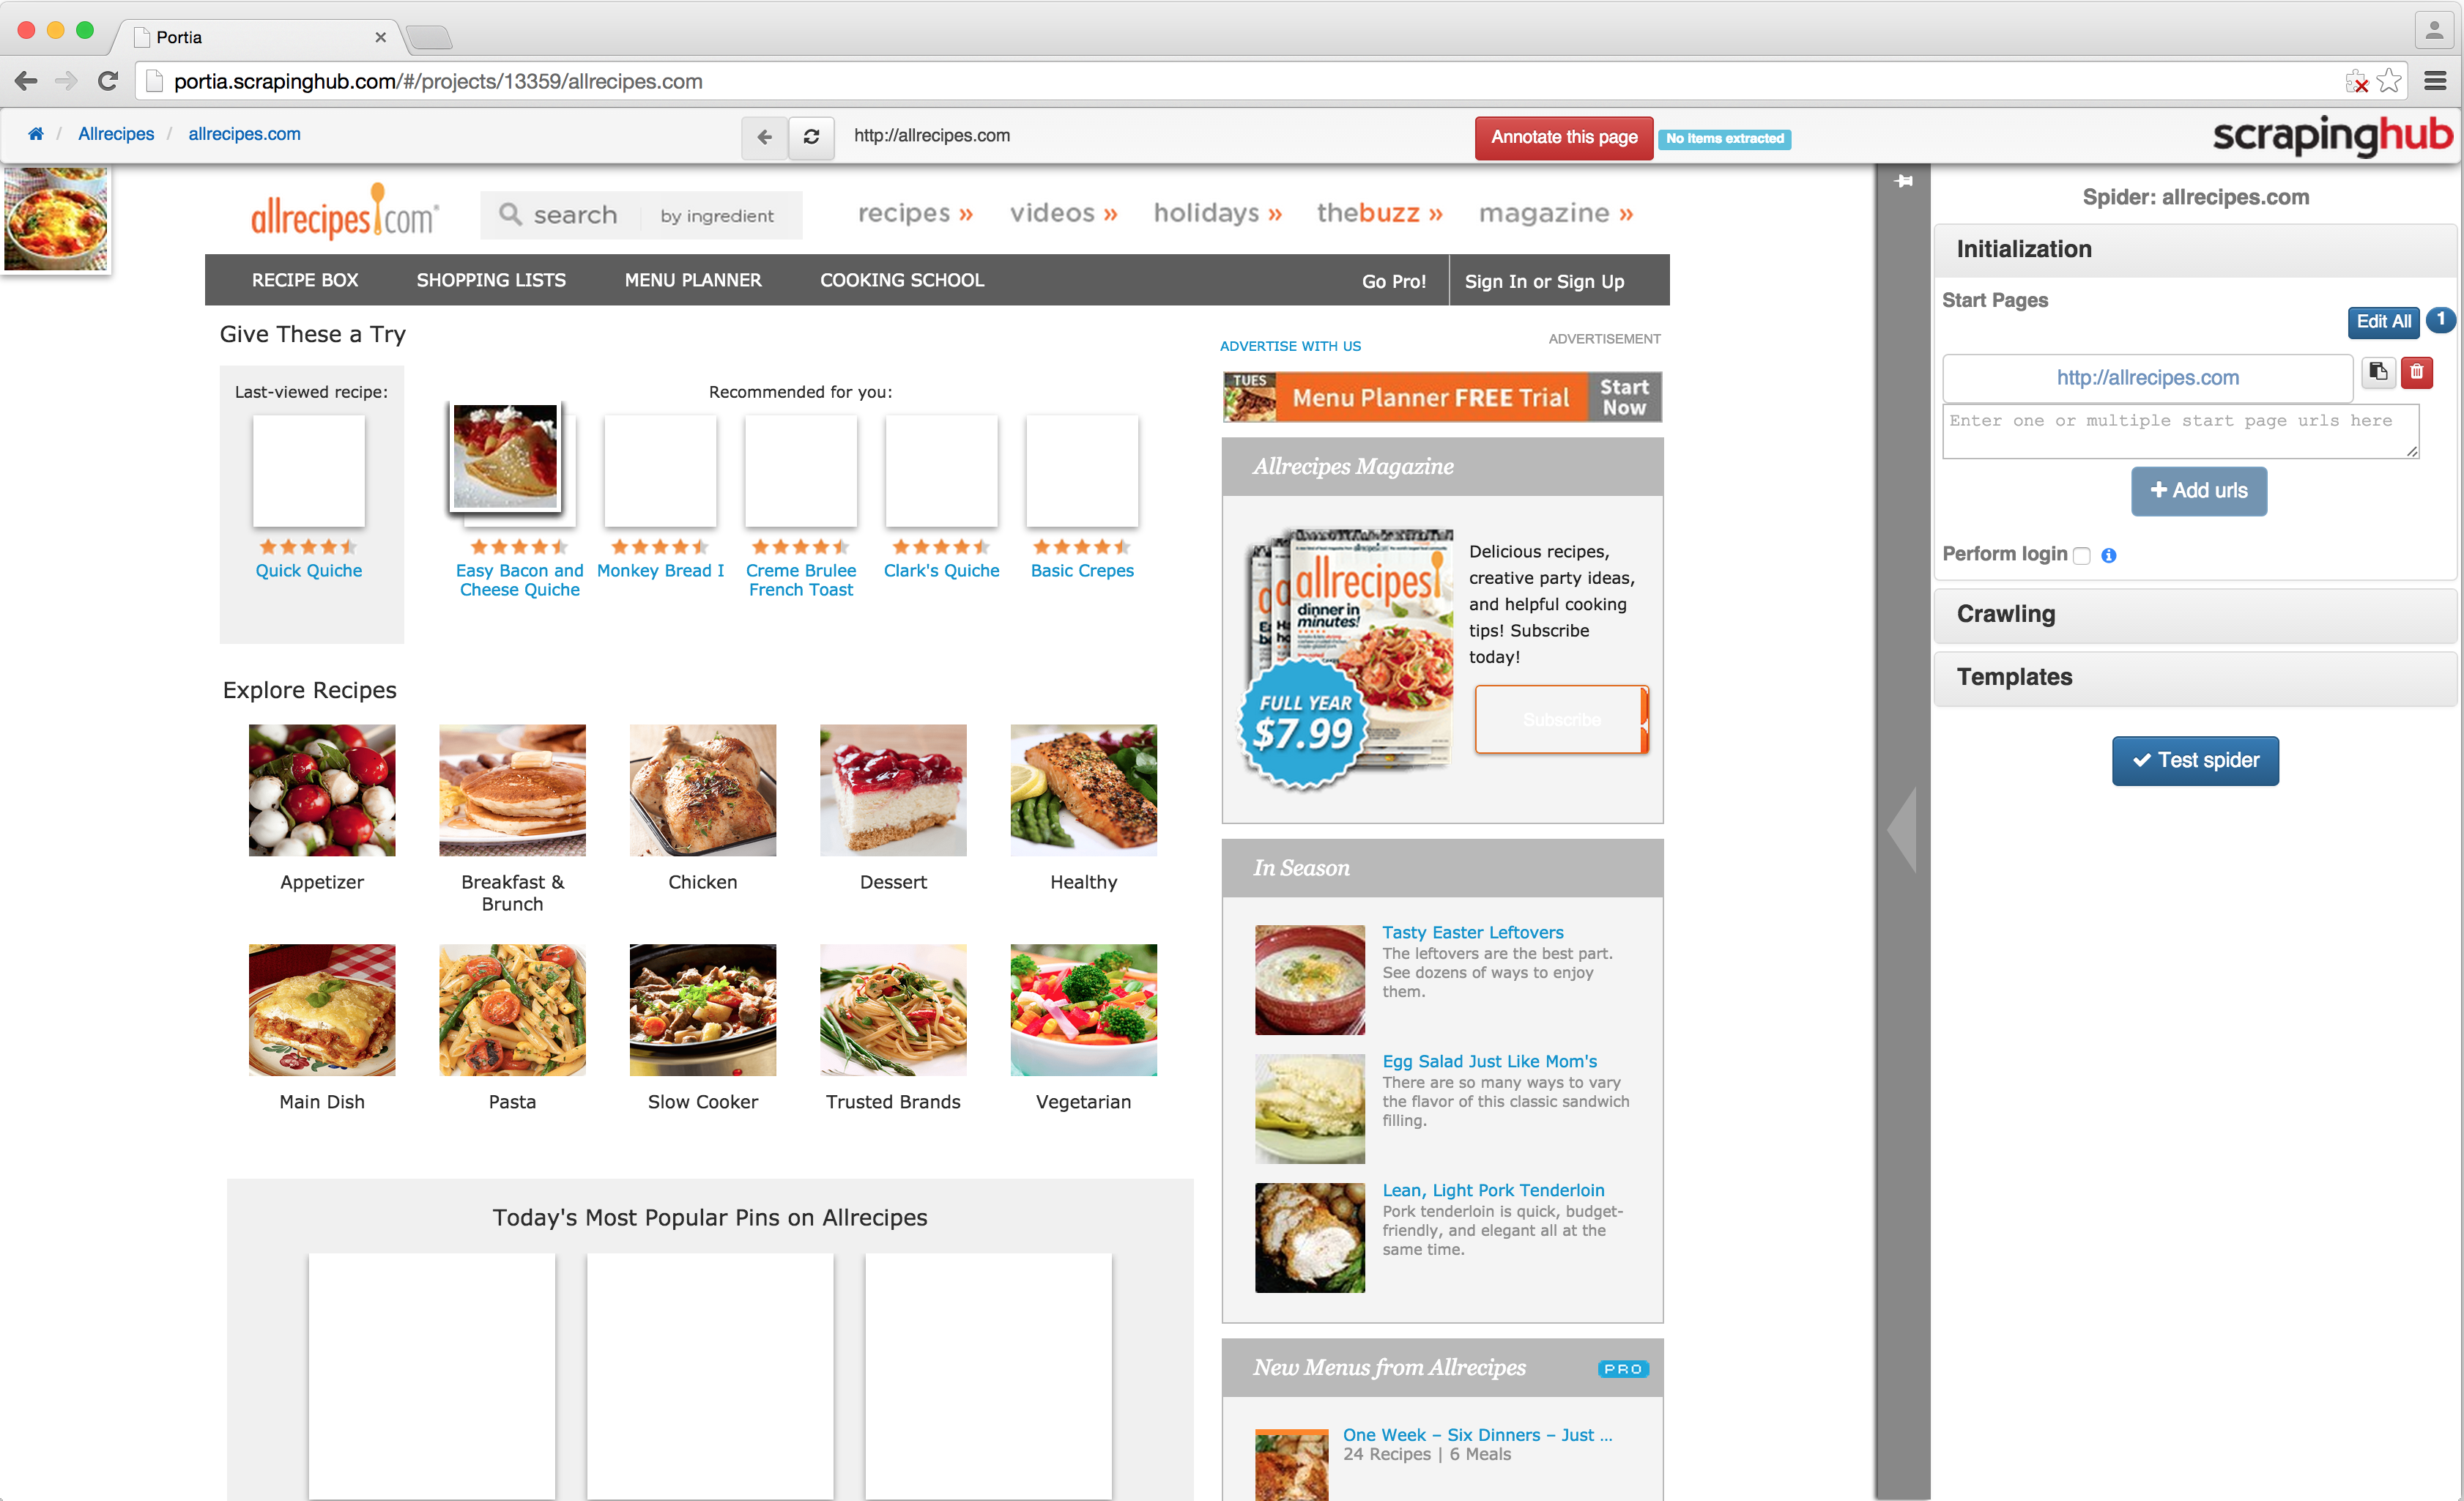
Once the project has been created, you will be redirected to the main Portia screen:

To create a new spider for the project, begin by entering the website URL in Portia’s address bar and clicking the ‘New Spider’ button. Portia will create a new spider and display the page:
You can navigate the site like you normally would until you find a page containing data you want to scrape. Sites that require JavaScript to render aren’t currently supported.
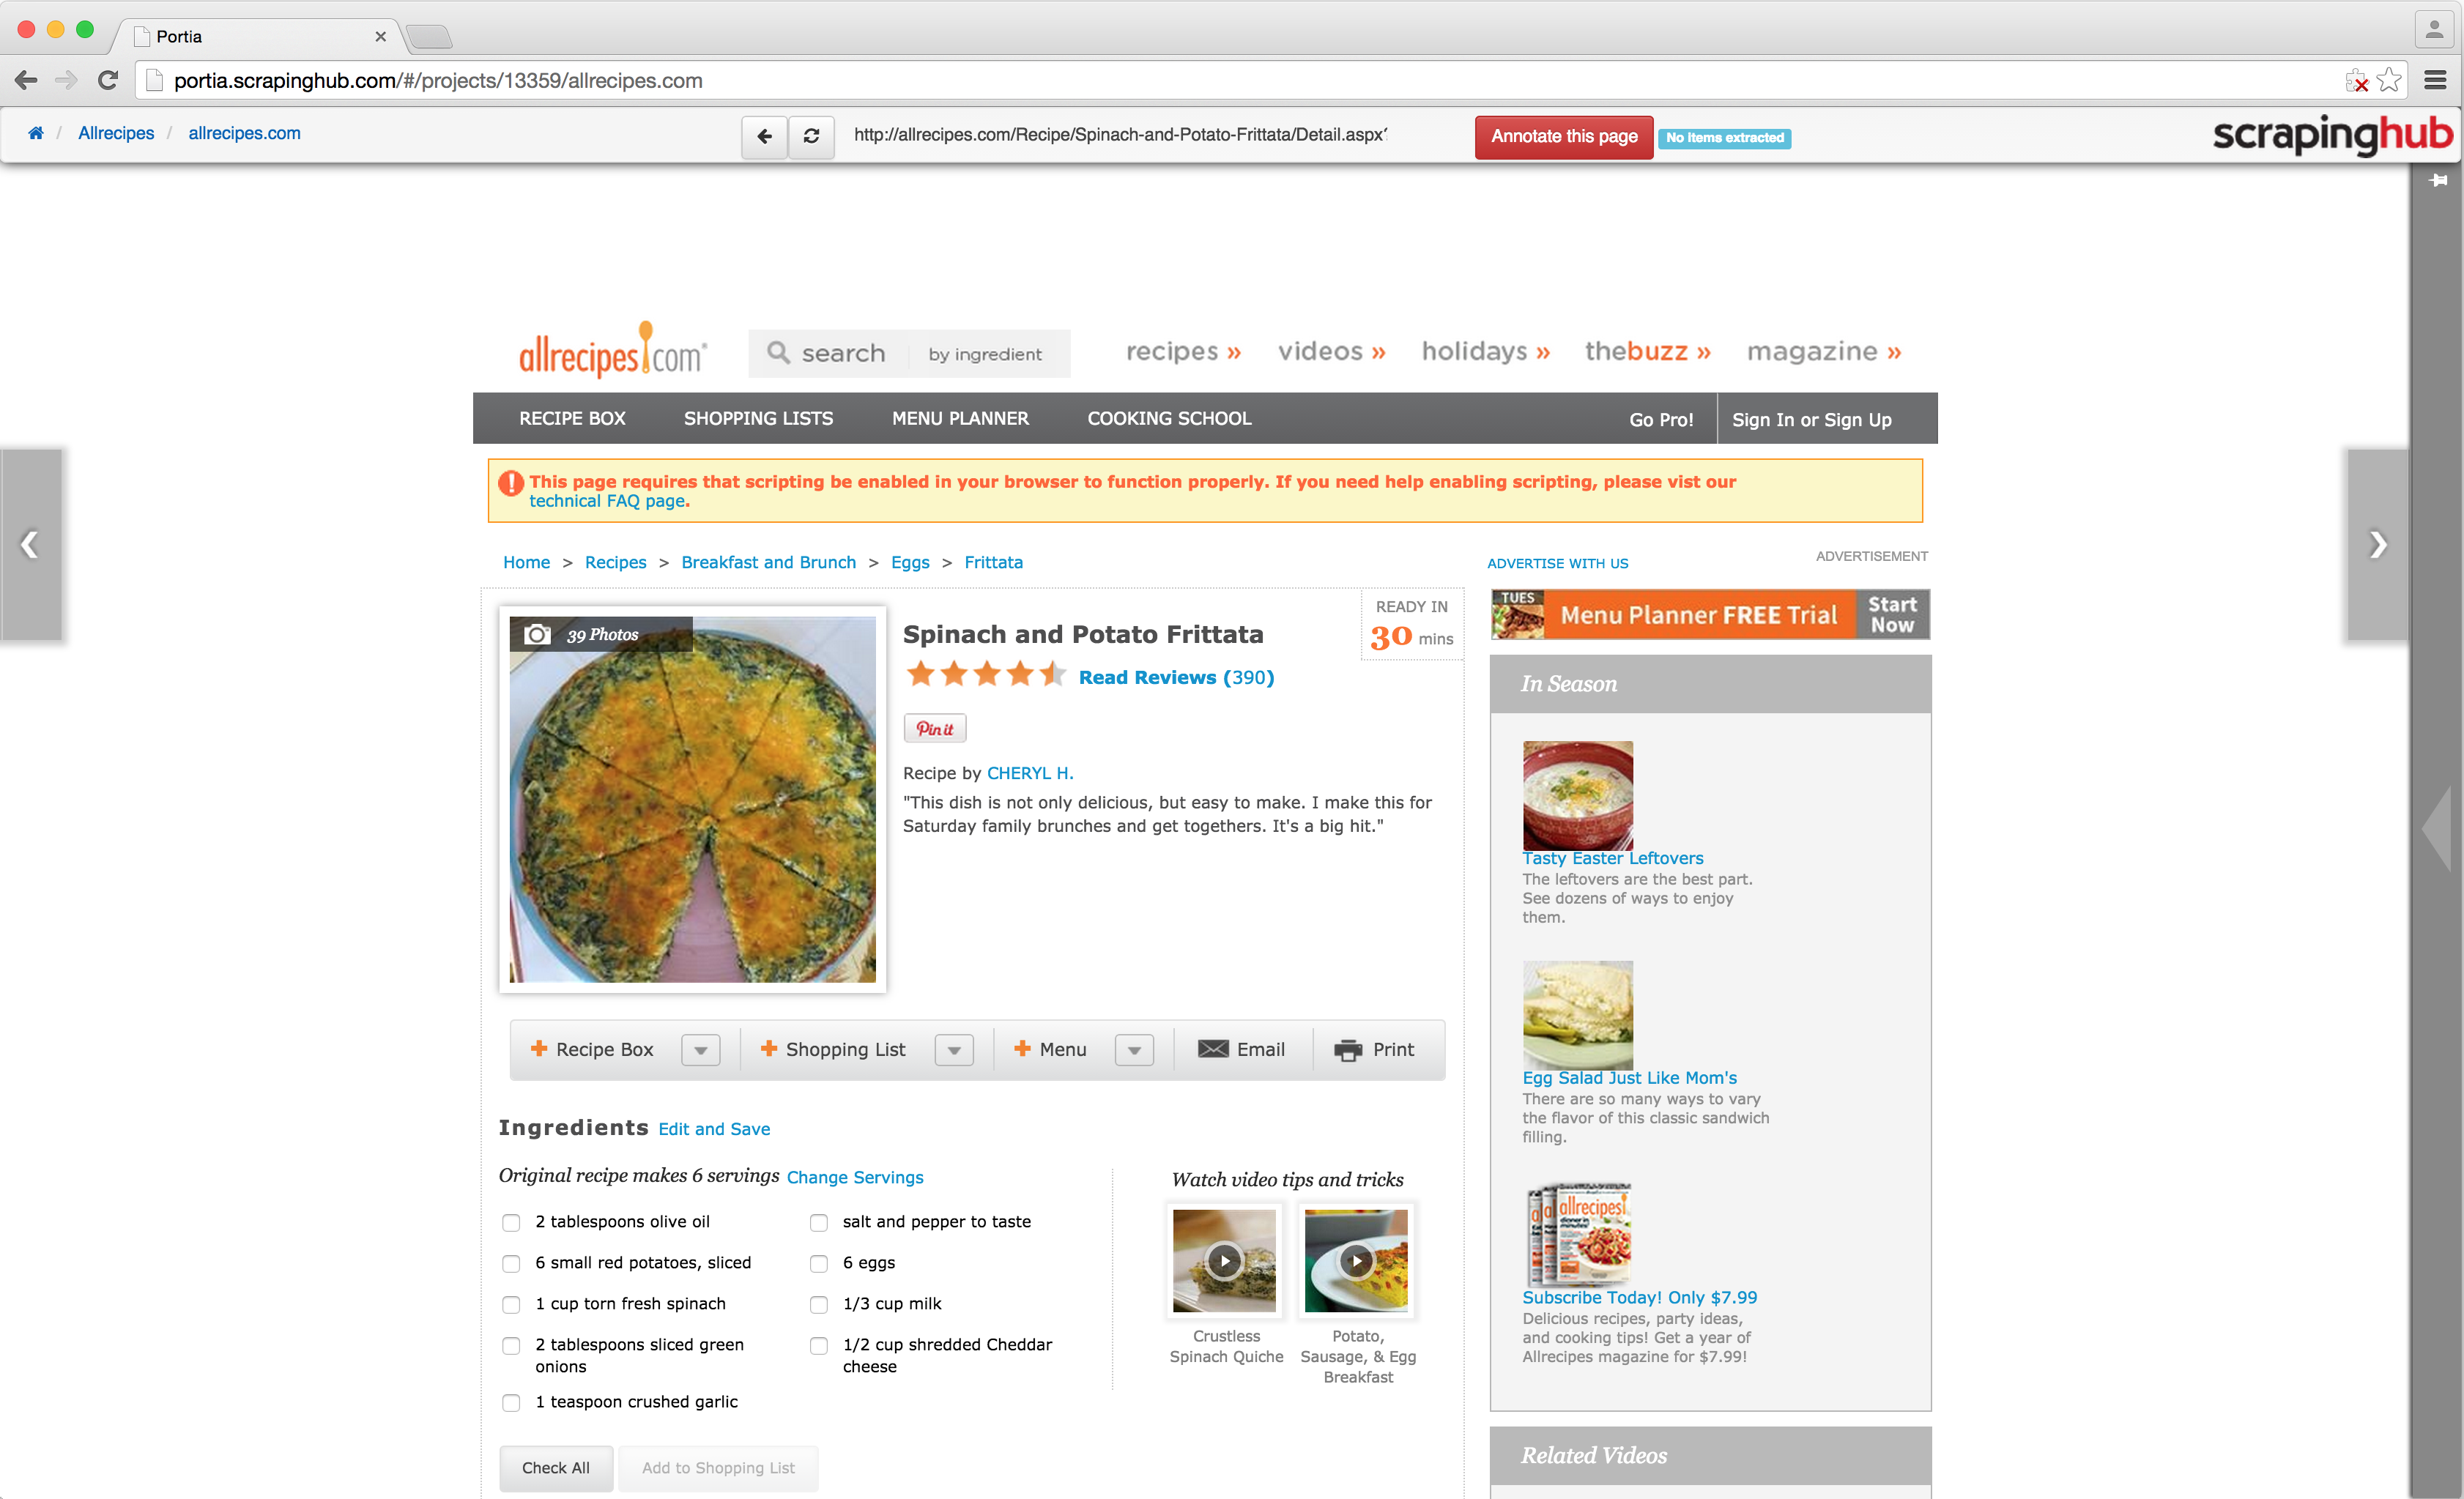
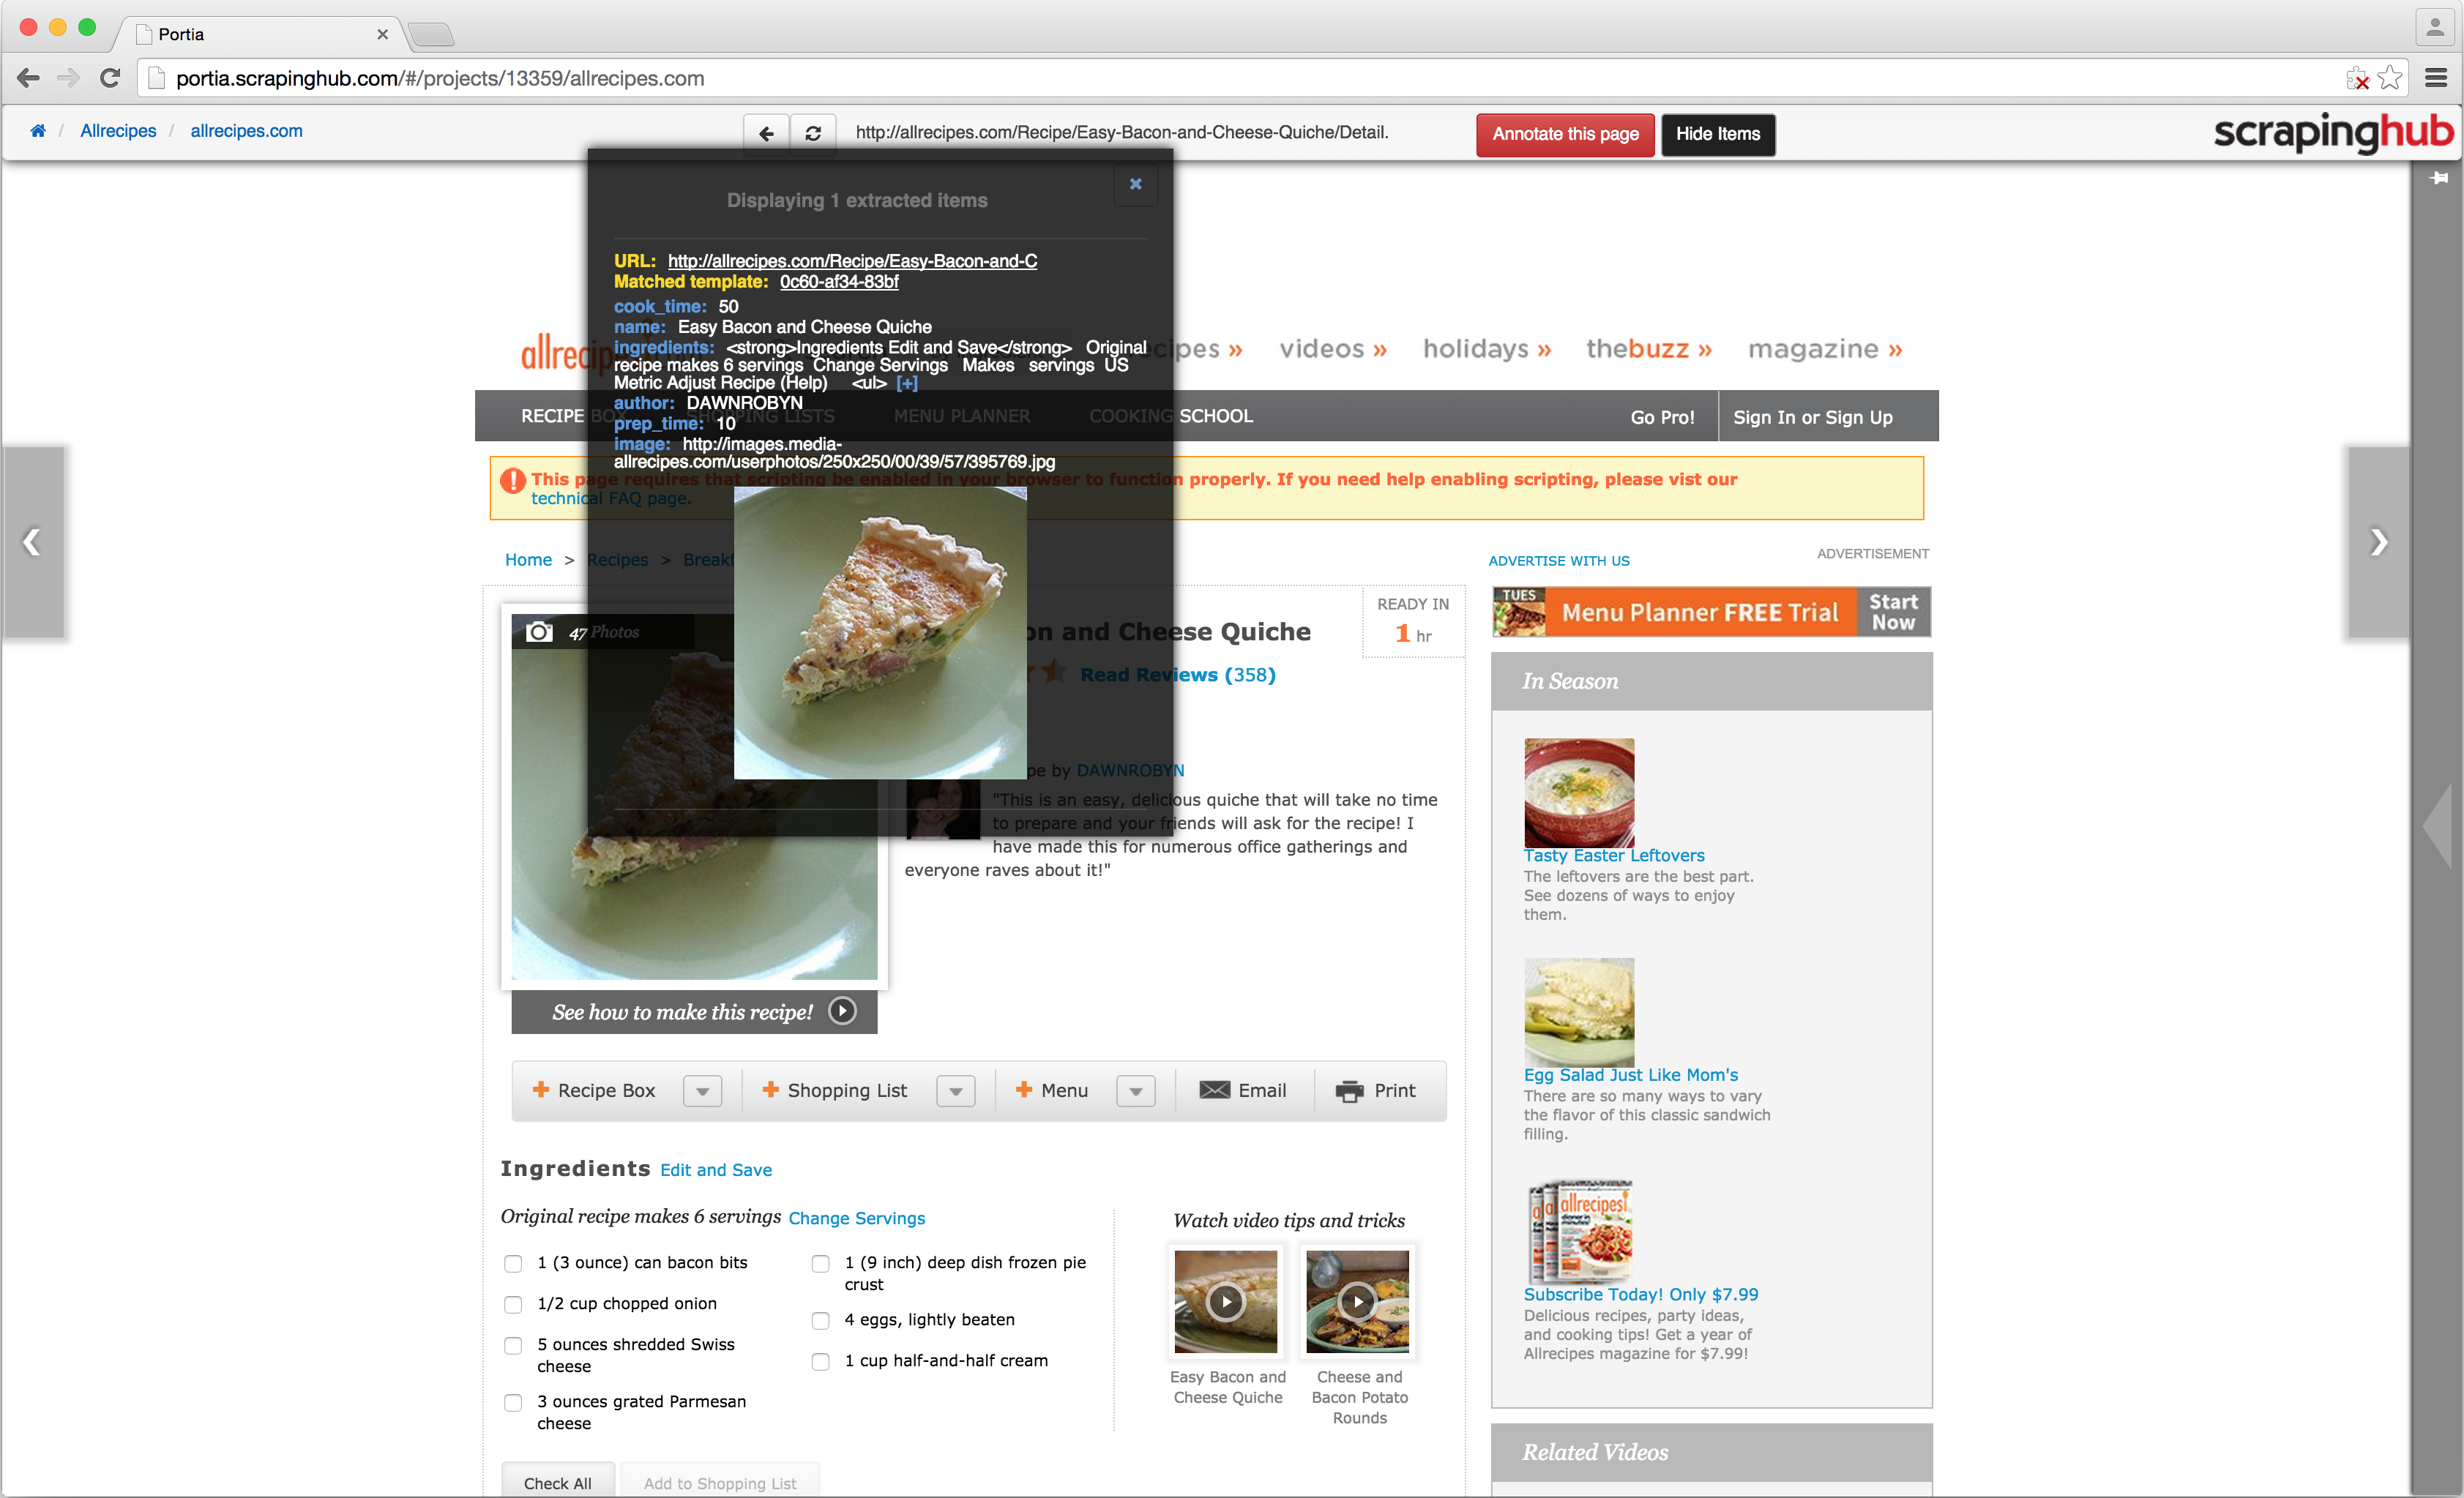
Once you’ve found a page with data you’re interested in, click the ‘Annotate this page’ button at the top to create a new template.
You will notice that hovering over an element will highlight it, and clicking it will create an annotation. An annotation defines a mapping between an element’s attribute or content to a field in an item you wish to scrape.
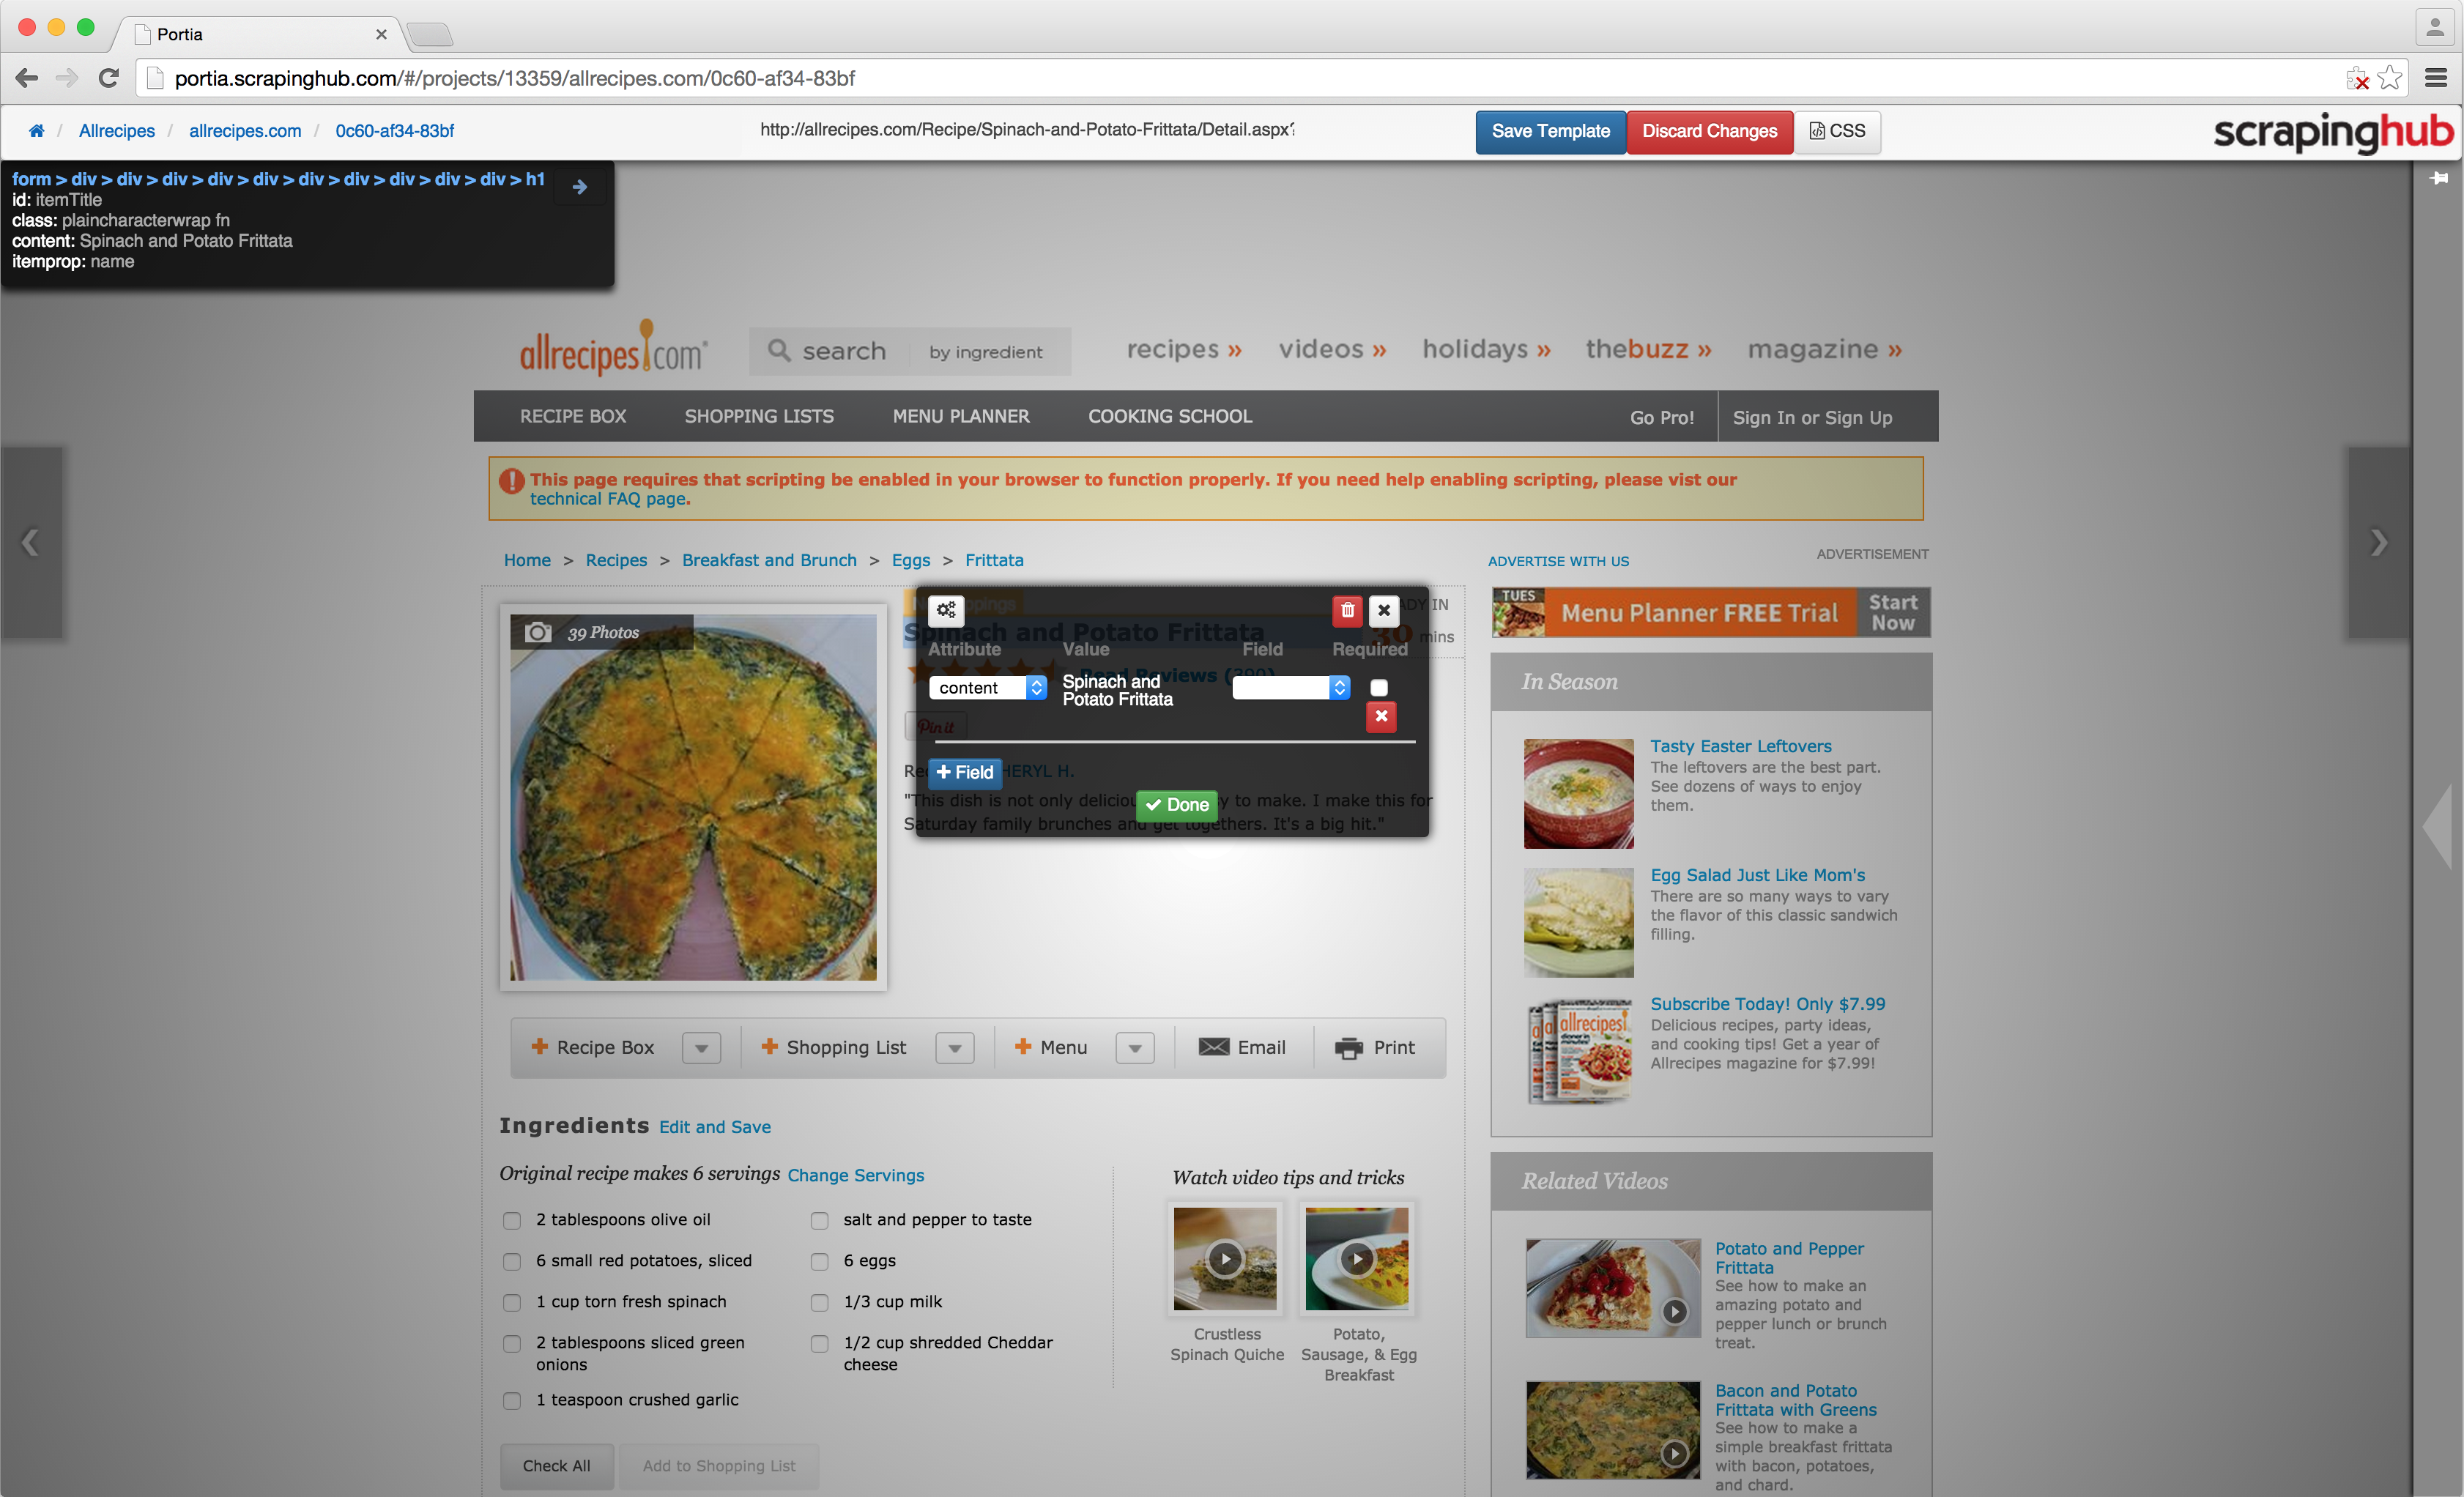
In the screenshot above we have clicked the title of a recipe. On the left of the annotation window, you will see an ‘Attribute’ dropdown. This allows you to select which part of the element you wish to map. In this case, we’re going to map the content, but when annotating elements like images you may want to select a different attribute such as the ‘src’ value.
The value which will be extracted for this particular page is shown in the middle of the annotation window under ‘Value’. On the right, you can select the field to map the attribute to. Because new projects are created with a default item, there are already fields we can map to.
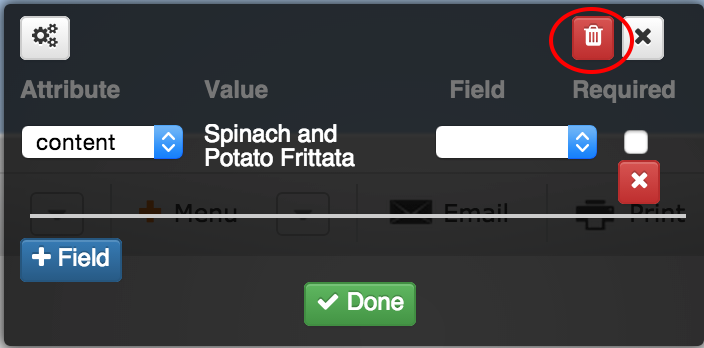
Let’s say we don’t want to use the default item. For the time being, we will discard the annotation by clicking the red trash can icon at the top of the annotation window.
Move your mouse to the right to display the right-hand sidebar and expand the ‘Extracted item’ tab. You will notice the current extracted item type will be ‘default’, click the ‘Edit items’ button.
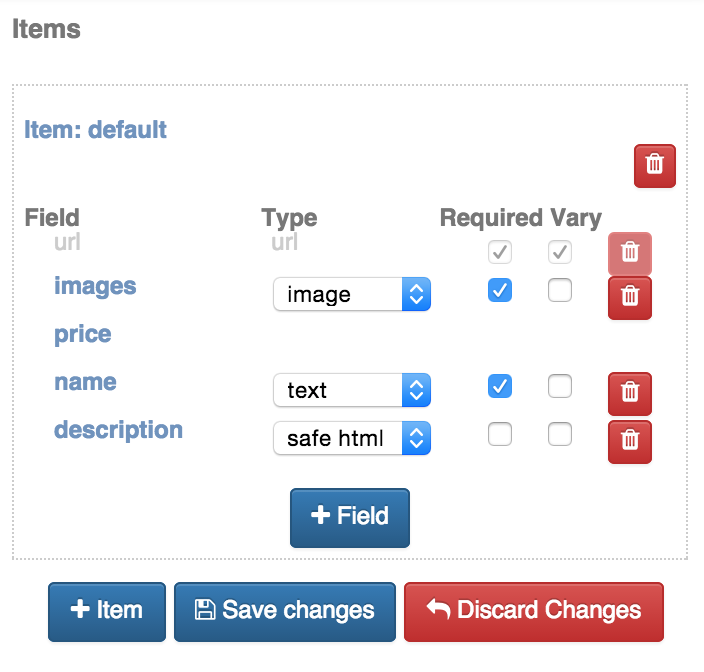
Here you can edit the default item and its fields, as well as create more items if you wish. In this example we’ll simply edit the default item:
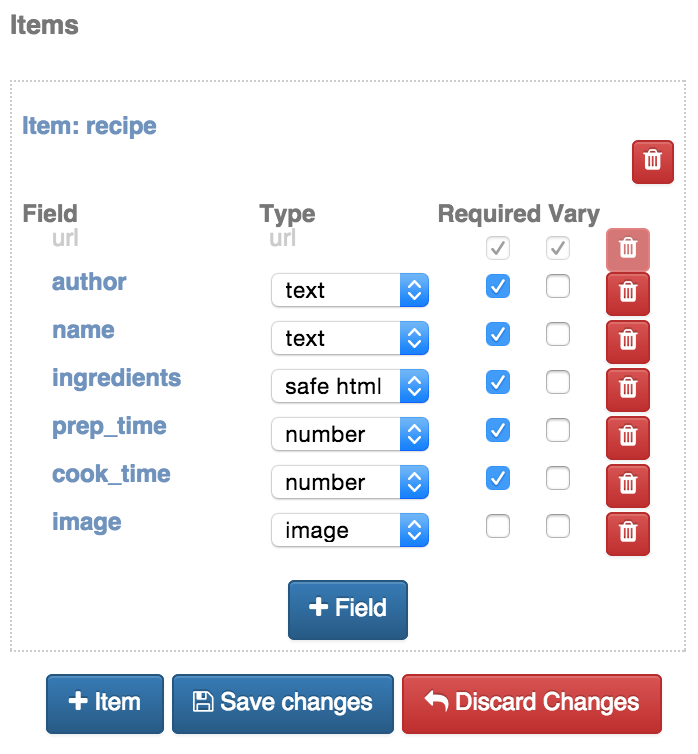
Click ‘Save changes' and you will now be able to map elements to your new set of fields. Once you have annotated everything you wish to extract, click ‘Save template’ and you will be redirected to the spider’s start URL. You can now test your spider by visiting another page similar to the one you annotated:
Once you’ve tested several pages and are satisfied your spider is working, you can now deploy your project to Dash. Click the project link in the breadcrumbs (displayed top left) to leave the spider and go to the project page.
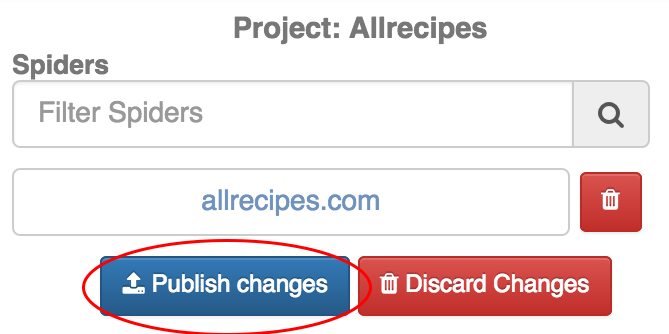
Click the ‘Publish changes’ button on the right-hand sidebar to publish your project, and you should receive a message box asking if you want to be redirected to the schedule page. Click ‘OK’ and you will be redirected to the jobs page in Dash where you can now schedule your spider.
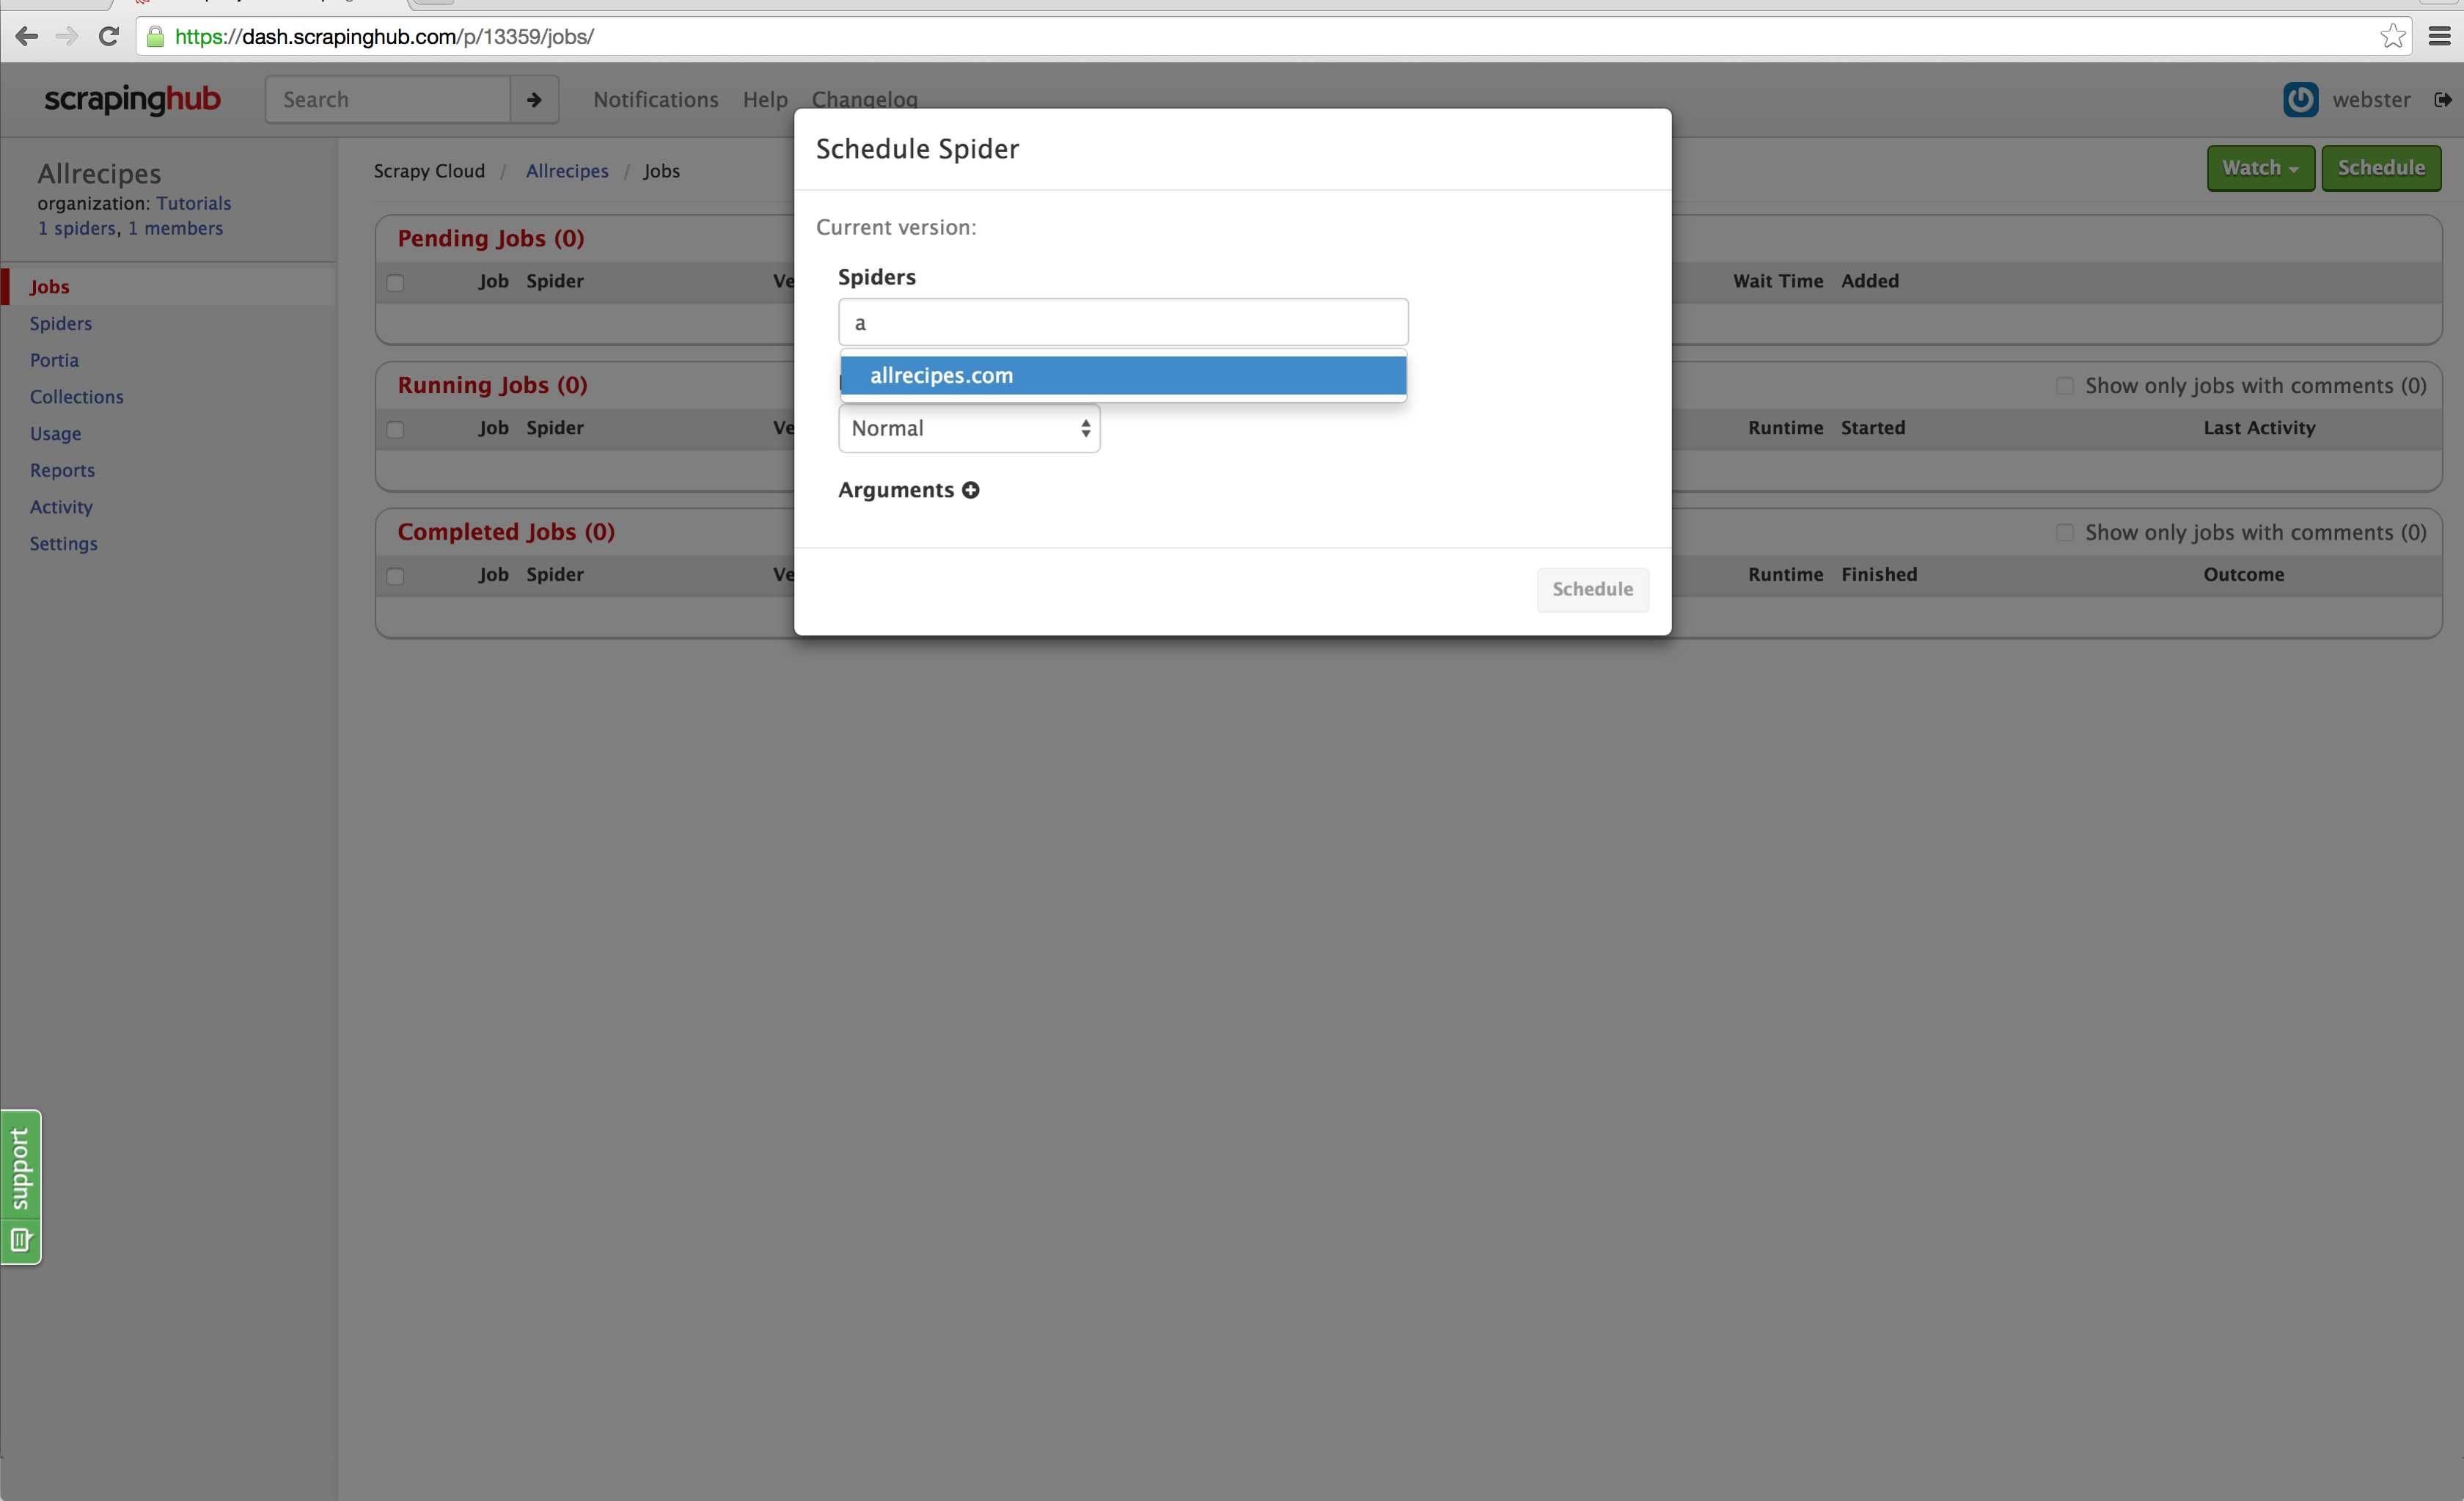
Click the ‘Schedule’ button on the top right and select your spider from the dropdown. Click ‘Schedule’ and Dash will start your spider. You will notice that items are being scraped just like any standard Scrapy spider, and you can go into the jobs item page and download the scraped items as you normally would:

That's all there is to it! Hopefully, this demonstrates just how easy it is to create spiders using Portia without writing any code whatsoever. There are a lot of features we didn't cover, and we recommend taking a look at the documentation in GitHub if you want to learn more. Portia is open source, so you can run your own instance if you don't wish to use Scrapy Cloud, and we are open to pull requests!


_HFpro5d6k3.png&w=256&q=75)
_E4PyVpfAxa.png&w=256&q=75)


-(1).png&w=1920&q=75)
-(1)_VZGHqxCgXV.png&w=1920&q=75)
